Webflow integration
Connect the Webflow site GetXEO already writes for, map the fields once, and publish a finished blog straight to it without copying anything across by hand.

Integration
1. Connect from Settings
Settings, Integrations tab, then Connect on the Webflow card.
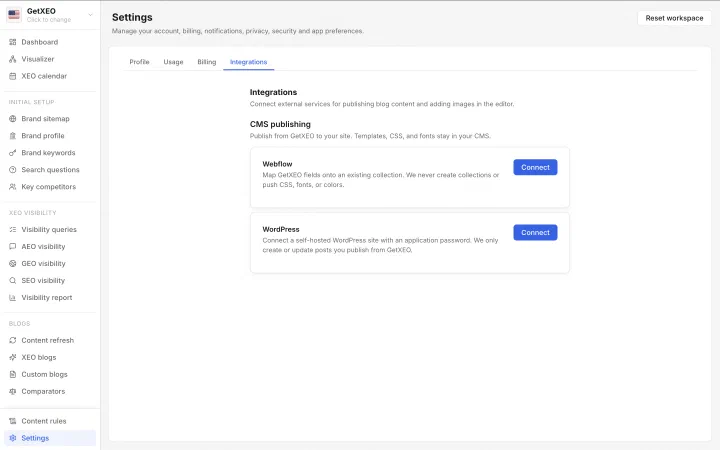
Open Settings, then the Integrations tab. Webflow sits under CMS publishing beside WordPress. Connect starts the setup. GetXEO maps onto a collection you already have; it never creates collections and never pushes CSS, fonts or colors to the site.
2. Sign in to Webflow
Sign in on Webflow to authorize the connection.
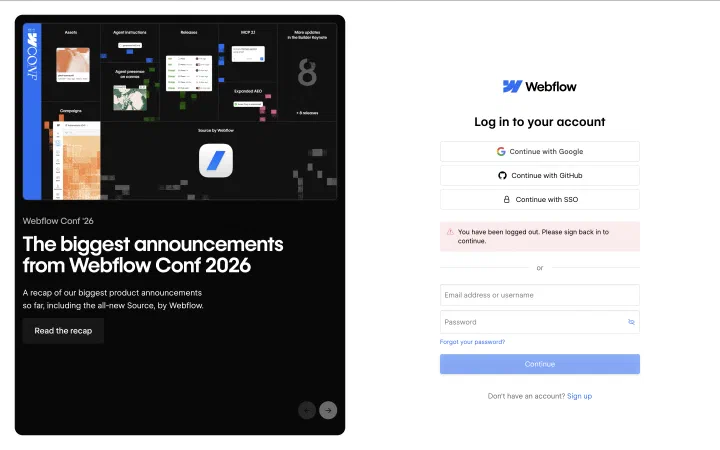
Connect hands off to Webflow's own login. Sign in with Google, GitHub, SSO or an email address and password, whichever the account uses. This happens on Webflow, so the password never passes through GetXEO, and you return once it authorizes.
3. Choose the site to authorize
Pick the site and grant access on Webflow.
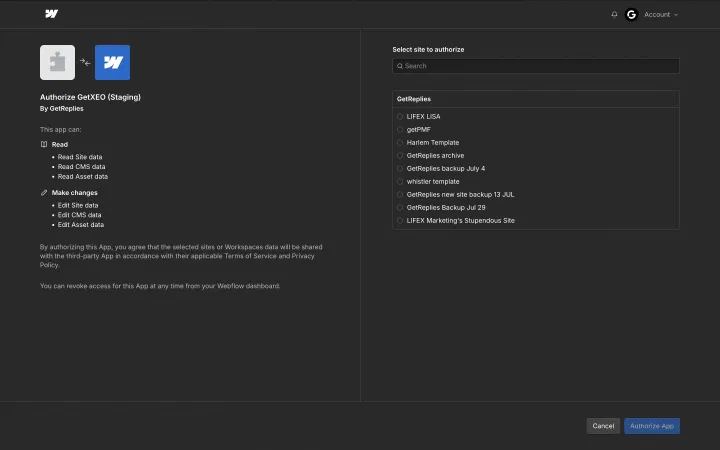
Webflow asks which site to hand over. Pick one, check the permissions listed beside it, which cover reading and editing site, CMS and asset data, then Authorize App. Access can be revoked later from the Webflow dashboard.
4. Pick the site and collection
Choose the site, the collection, and draft or live.
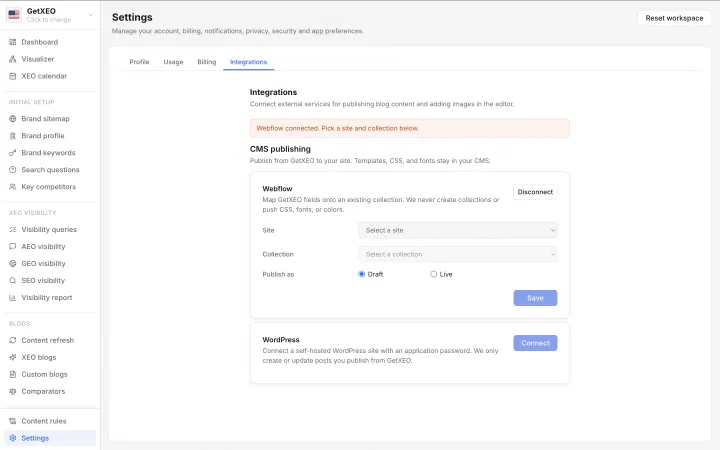
Webflow sends you back to GetXEO with the connection made. Choose the site, then the collection posts should land in, and whether they arrive as Draft or Live. Draft is the default, so nothing publishes until you change it. Save writes the mapping.
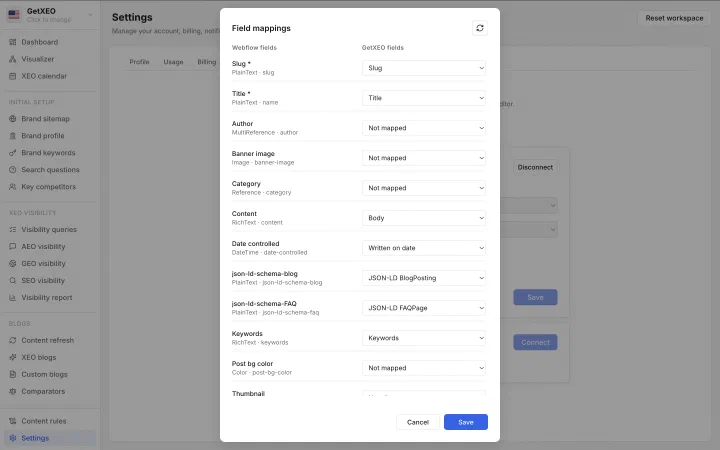
5. Map the fields
Map every Webflow field to its GetXEO counterpart.
Choosing a collection opens the mapping. Each Webflow field takes a GetXEO field, and the two marked with an asterisk are required. Structured data carries across too, so schema ships with the post. Leave anything you do not want as Not mapped.
6. Confirm the connection
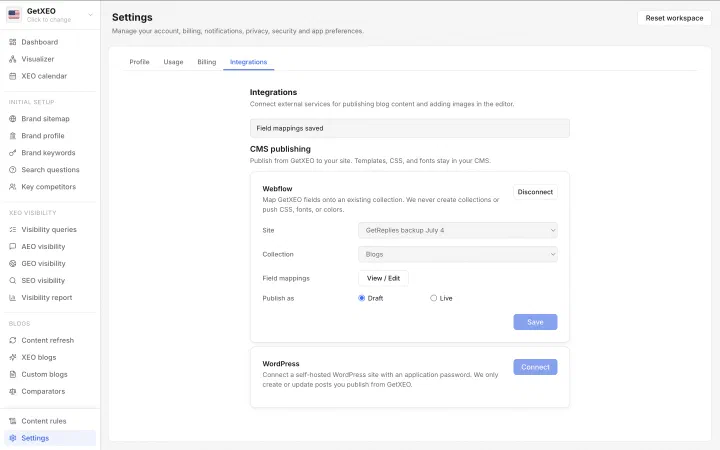
The connection is live and the mapping stays editable.
Saving the mappings completes the connection. The card now shows the site, the collection and a View or Edit button for the mappings, so you can revise them whenever the collection changes. Publish as can be switched between Draft and Live at any time.
7. Publish a blog
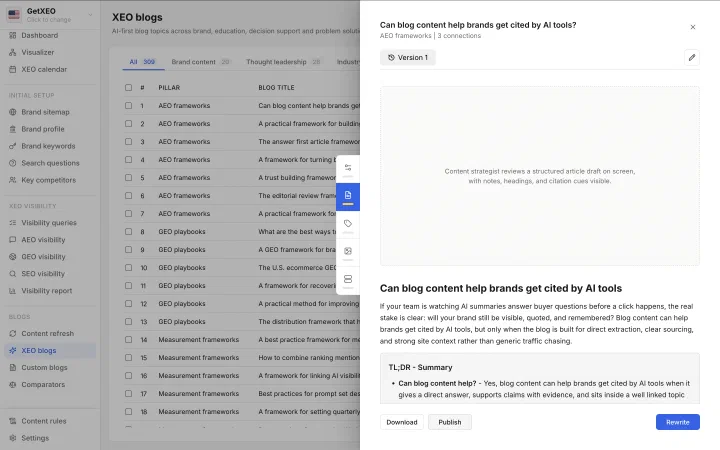
Open any written blog and press Publish to ship it.
With the connection made, Publish replaces the Connect CMS button on every written blog. Open one from content refresh, XEO blogs, custom blogs or comparators, then Publish. It lands in the mapped collection as draft or live, whichever the integration is set to.
8. Review and publish in Webflow
Only if the integration publishes as draft rather than live.
A post sent as Draft arrives in the collection unpublished, so open it in Webflow, read it through and publish it there. Set the integration to Live instead and this step disappears: the post goes straight onto the site.